
Introduction
Windows is often neglected by sweet command-line, development tools. We admit it, we’ve neglected Windows in the past too. But, undeniably it is still a popular development environment. We’re ready to own and share the love with our Windows developers!
The Tools
To find out what each of these tools does, check out Part I of this series.
Ruby
Sass
Compass
Automated Deployment Tools
NodeJS
CoffeeScript
GruntJS
Git
Ruby
We suggest http://rubyinstaller.org/, which is written specifically for Windows. You can find the downloads section here: http://rubyinstaller.org/downloads/.
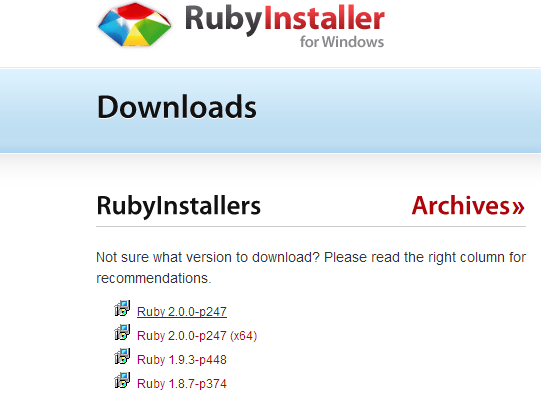
We also recommend downloading the 32bit version due to some packages not being available for the 64bit version. The 32bit version will work on 64bit systems.
After downloading the most recent version of Ruby, run the installer file (.exe).
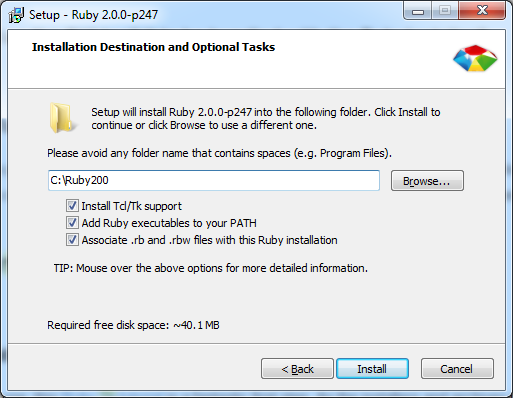
For simplicity, install with all options:
TCL/TK gives you all available packages.
Add Ruby executables to your PATH; it allows you to run Ruby as a command in your command prompt.
Associate .rb and .rbw files with this Ruby installation, which will allow you to run Ruby programs with this program.
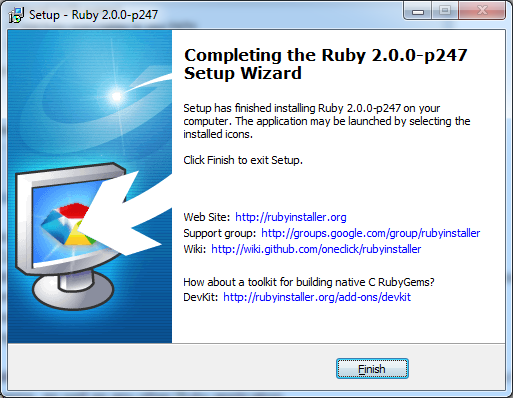
After installing the Ruby Installer, Ruby should now be configured to run. You can test your Ruby installation by opening command prompt and typing Ruby -v.
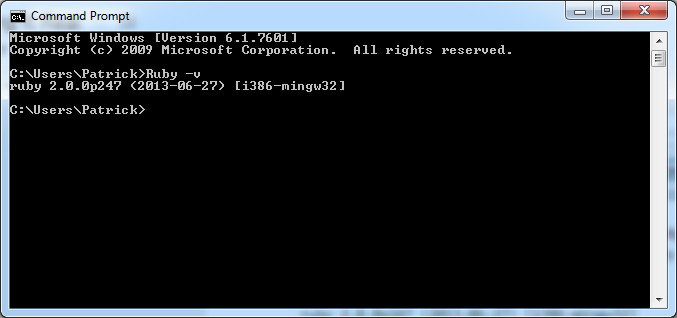
C:\Users\Patrick>Ruby -v
ruby 2.0.0p247 (2013-06-27) [i386-mingw32]
You can harness the power of gems! Try creating a test project and adding a few gems to it.
Sass
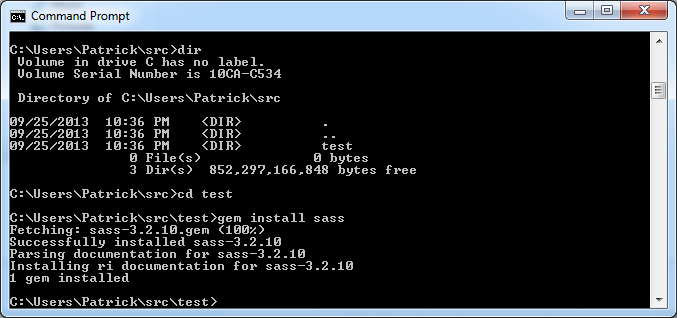
With Ruby installed, you can now install Sass by running the following command:
gem install sass
With a normal CSS file, you can simply rename the file from “style.css” to “style.scss” and start using Sass to compile your “.scss” file to a CSS file.
run the command:
sass—watch style.scss:style.css
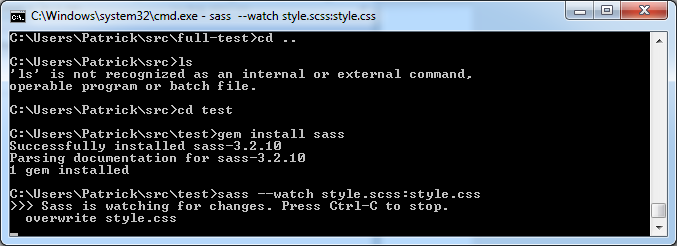
Warning: First, specify the Scss file, then the output file. Be careful not to reverse the order of these. You may overwrite your Scss file with the CSS version of the file. For best results, you may want to modify the name of the CSS file to be less confusing.
sass—watch style.scss:compiled-style.css
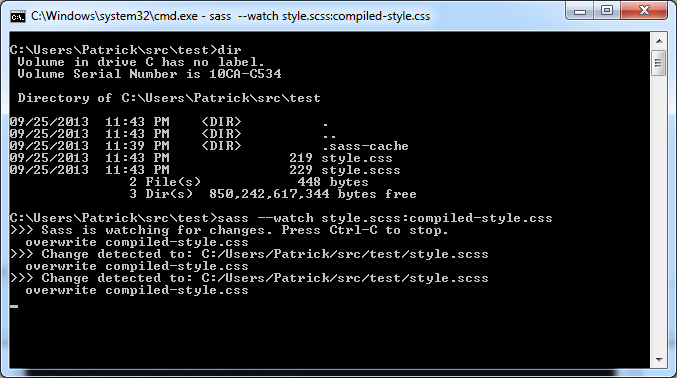
You’ll notice that the compiled-style.css was created, which, at this point, will look nearly identical to the .scss file. However, now you can start using Scss power! Try nesting a few styles, and watch your CSS file grow!
Compass
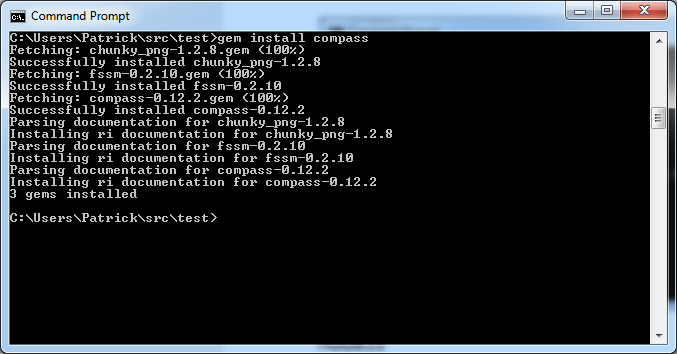
To install Compass, run:
gem install compass
Next, you will run the “compass init” command in your project root directory.
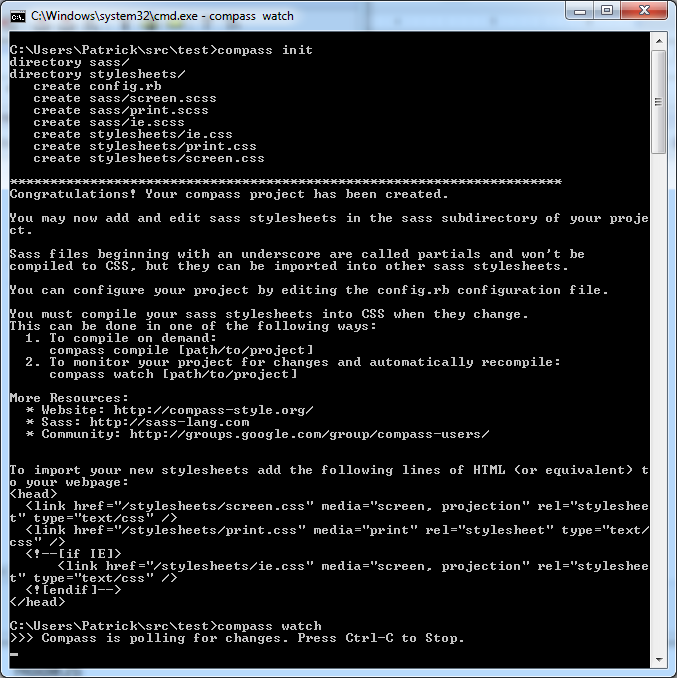
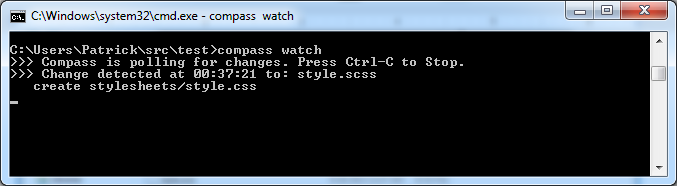
After you run “compass init,” you can run “compass watch” to begin monitoring for changes to your Sass files.
Note: Compass comes with opinions—and for good reason. Compass init separates your Sass files with your compiled CSS. This directory structure looks like this:
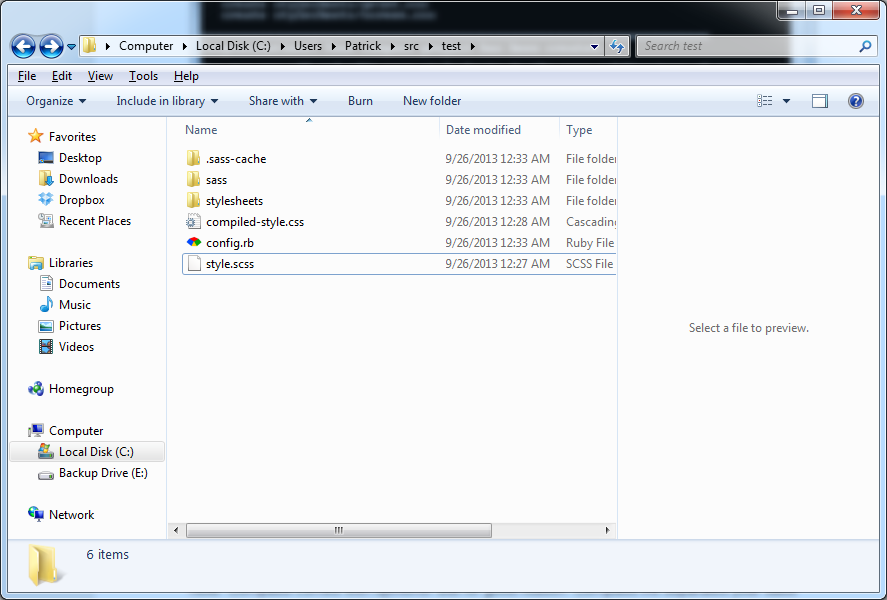
Then, you can move your previous Scss files into the “sass” directory, and it will compile the new CSS file in the “stylesheets” directory. You can delete your previously compiled Scss file in the root directory to avoid any confusion.
Automated Deployment Tools
At Sparkbox, we use various automated deployment tools, such as Capistrano or Mina. These tools are highly customizable and server-side specific. This means, there are a lot of options and configurations for you to handle. Whatever you choose, using some kind of automatic deployment will definitely save you time.
We will have future posts about getting automated deployment working in Windows. For now, take a look at: http://beanstalkapp.com/features/deployments.
NodeJS
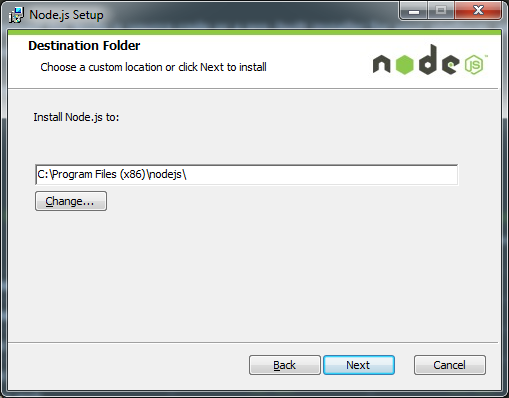
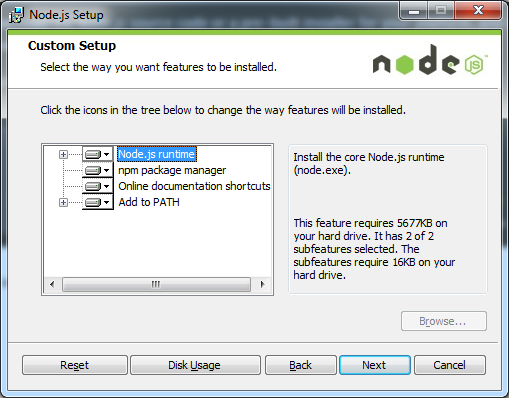
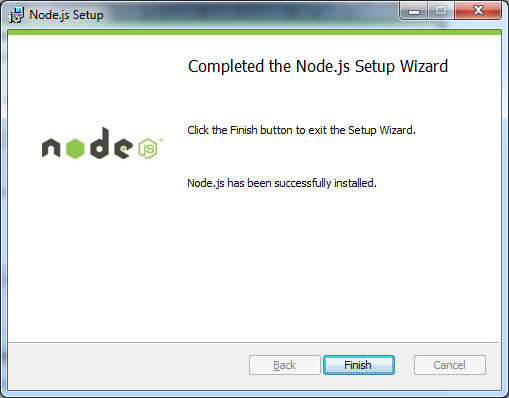
Navigate to http://nodejs.org/download/ and download the latest version of NodeJS.
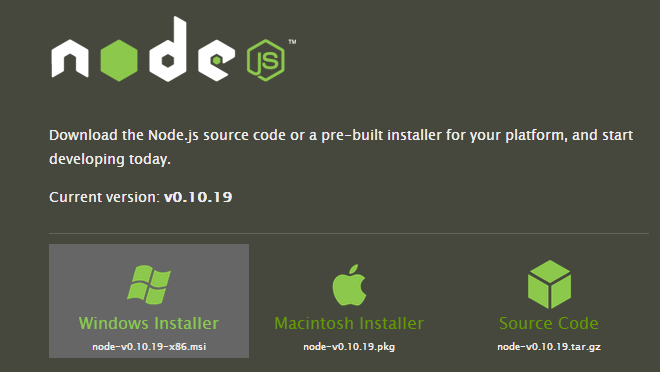
At time of writing this post, “node-v0.10.21-x86.msi” is the latest file, but this tutorial and testing were done with “node-v0.10.19-x86.msi”. Follow the steps in the images below:
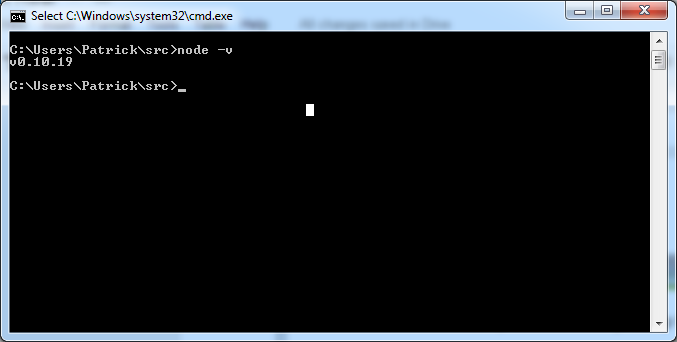
To test if NodeJS is working on your system, open up command prompt, and run node -v.
CoffeeScript
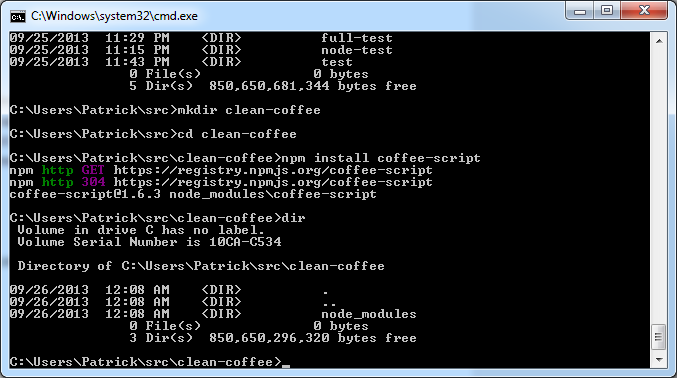
Installing CoffeeScript is the same across platforms. After installing NodeJS, install CoffeeScript by running the following command:
npm install coffee-script
coffee -c scripts.coffee
This command will compile your CoffeeScript file to scripts.js in the same directory.
You can download an example of CoffeeScript here: https://gist.github.com/patricksimpson/6709777.
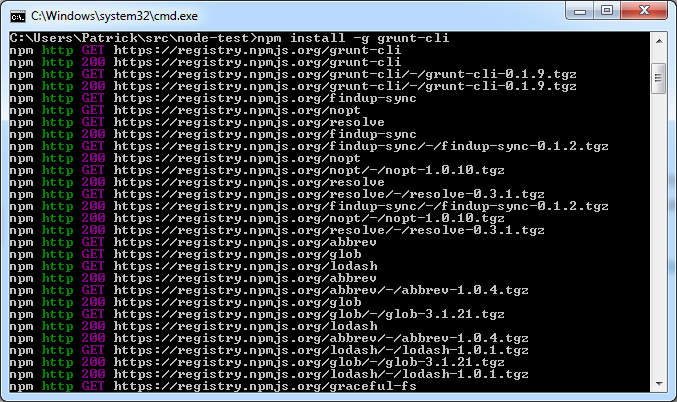
GruntJS
Just run:
npm install -g grunt-cli
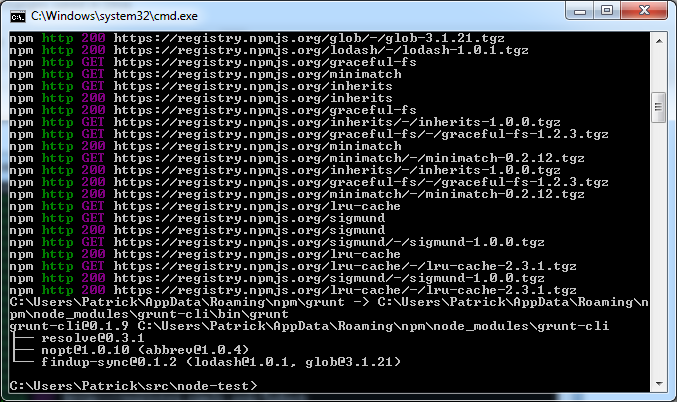
After Grunt is installed, you can now create and/or use Grunt projects. Start by adding Gruntfile.js and packages.json. You can read more about Grunt projects here: http://gruntjs.com/sample-gruntfile.
Git for Source Control
Git for Windows is located here: http://git-scm.com/download/win. Git Setup will install a small version of Bash that will allow you to run Git commands in a terminal emulator. You can also use a GUI version of GitHub (http://windows.github.com/) if you’re not comfortable using the Bash on Windows systems. For this exercise, we’ll be using the command line (terminal emulator) version of Git.
After downloading the Git installer, run the .exe file for the Git Setup process. Next, click through the first two screens. We will default the install directories.
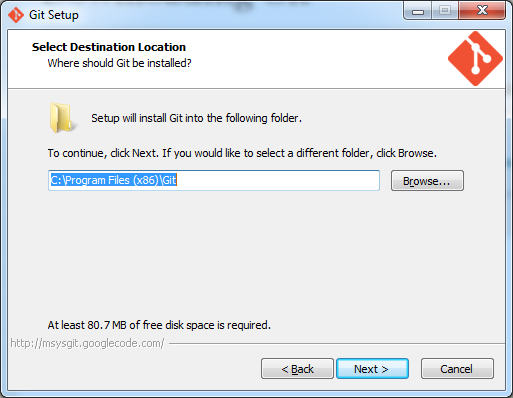
Choose “Git” as the Start Menu folder, or specify a custom folder.
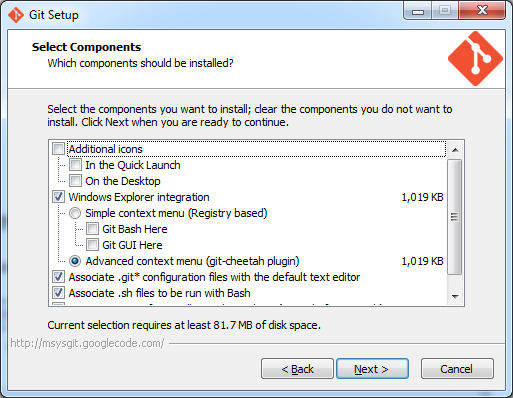
The default components will already be selected for you. It’s best to leave the defaults, but if you feel the need to add additional components, feel free to select them here:
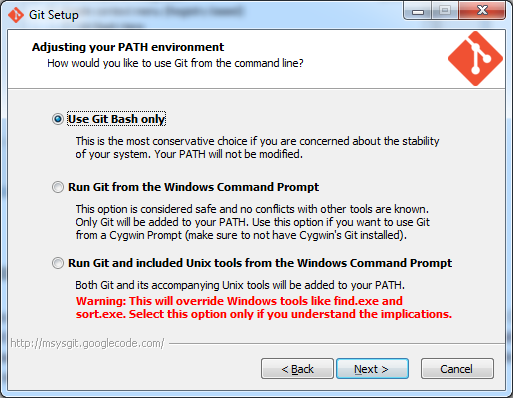
Again, we will be using the default (Bash-only) version of Git.
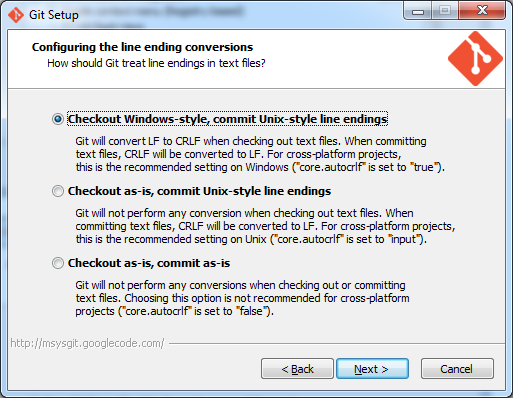
This is also recommended as the default option for Windows:
After that, click finish, and you are good to Git!
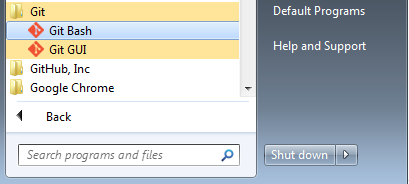
You can run Git Bash from your Start Menu:
You can test out your Git install by cloning down a test repository: in your bash terminal, type “git clone https://github.com/sparkbox/Build-Responsively-Workshop”:
”](https://images.ctfassets.net/fczckc3dt6mv/3v5oZHvXgfxqU7ykpbxQ8w/18a013193698ee0d8abc552dd8191498/Git_6.png?w=1920&q=75)
There is much more to learn and love about Git. You can learn more using these resources:
Putting It All Together
Now that you have all of these powerful web-development tools at your fingertips, try putting them all together and use our very own project-init. This will give you the ability to create (very quickly) a prototype website—locally!
You can Git the source from GitHub (do not clone) and download the zip file here.
Place this in your source directory and follow the instructions to setup project-init on your system. You will simply use your command prompt as before.
Make sure you install the bundle gem.
gem install bundle
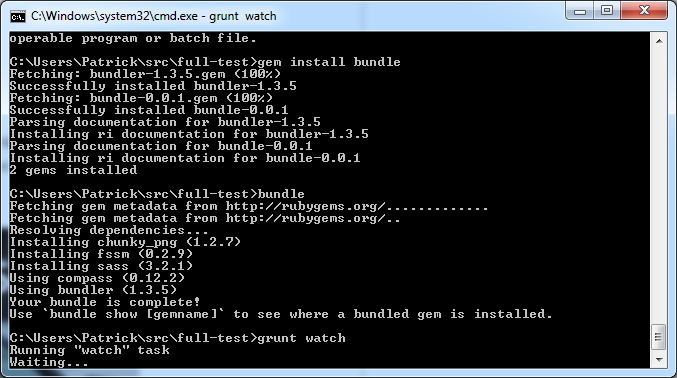
Next, you’ll need to run the “npm install” command in the directory. This will install a lot of node modules required to make the project-init work. After “npm install” installs all the modules—some may fail, but that’s ok, because they’re not needed entirely—you will then run “grunt” in your command-line:
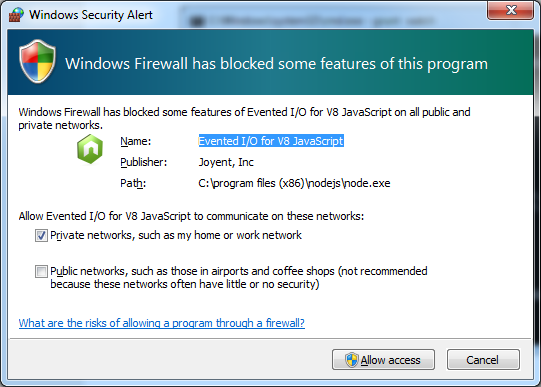
Click “Allow access” to continue.
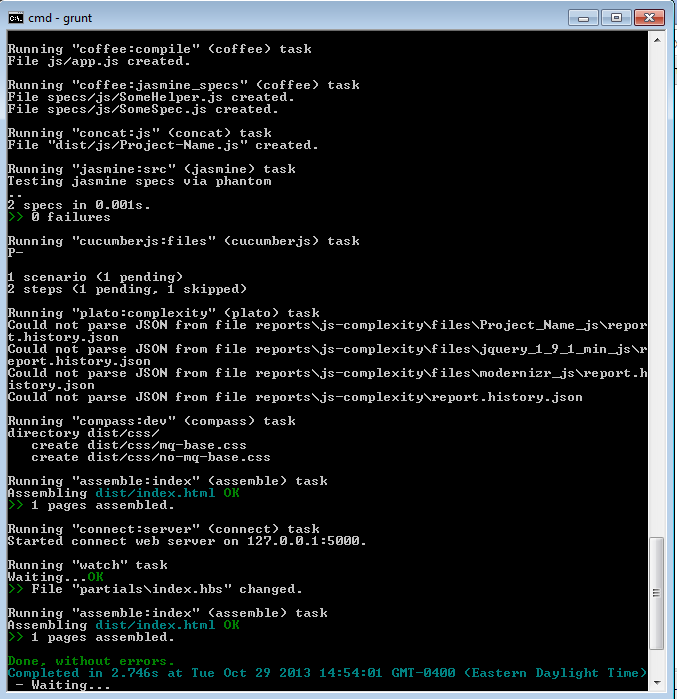
You should see “running ‘connect:server’” on a port number like “5000.” That means you can now access your new project files in the browser at: http://localhost:5000/
You should see the following page:
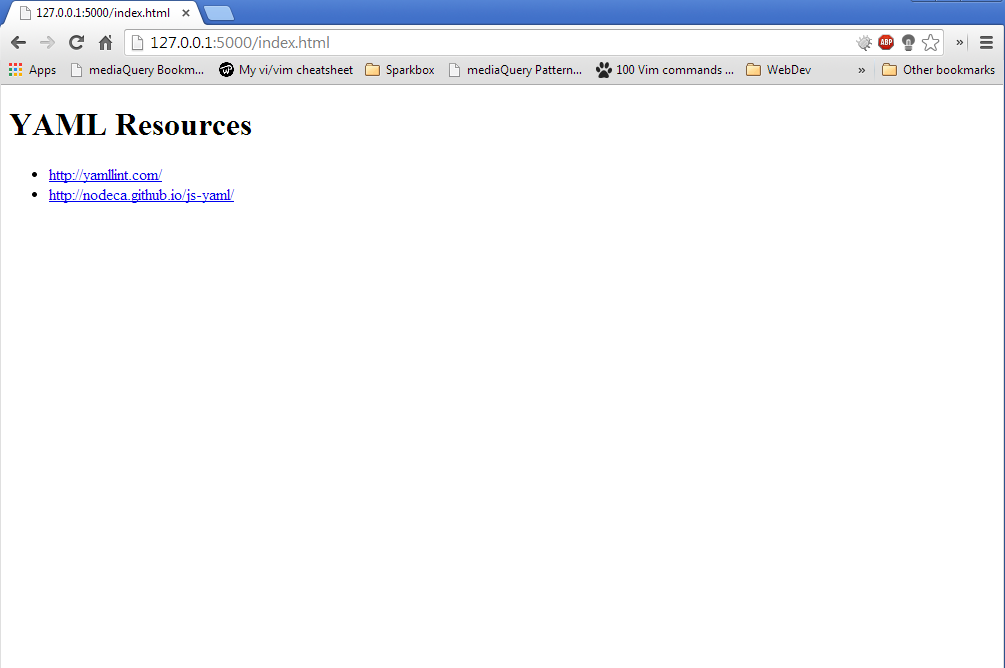
Congratulations! This means you’re all ready to make changes.
Grunt will watch your source files for changes, update them automatically, then refresh your browser. You should see the changes.
Handlebars templates are found in full-test/partials. More about Handlebars here: http://handlebarsjs.com/
Project-init will compile your site into a “dist” directory. You can find that in full-test/dist. This is a static version of your website, which you can easily distribute.
That’s it! I hope you love your frontend tools on Windows. Enjoy!
