From 2017–2018, Sparkbox had the opportunity to work with Blacks in Technology (BIT), a tech-focused nonprofit normalizing the participation of people of color in tech. We worked on their content strategy and redesigned their website so that it quickly conveys to users what BIT does and why.


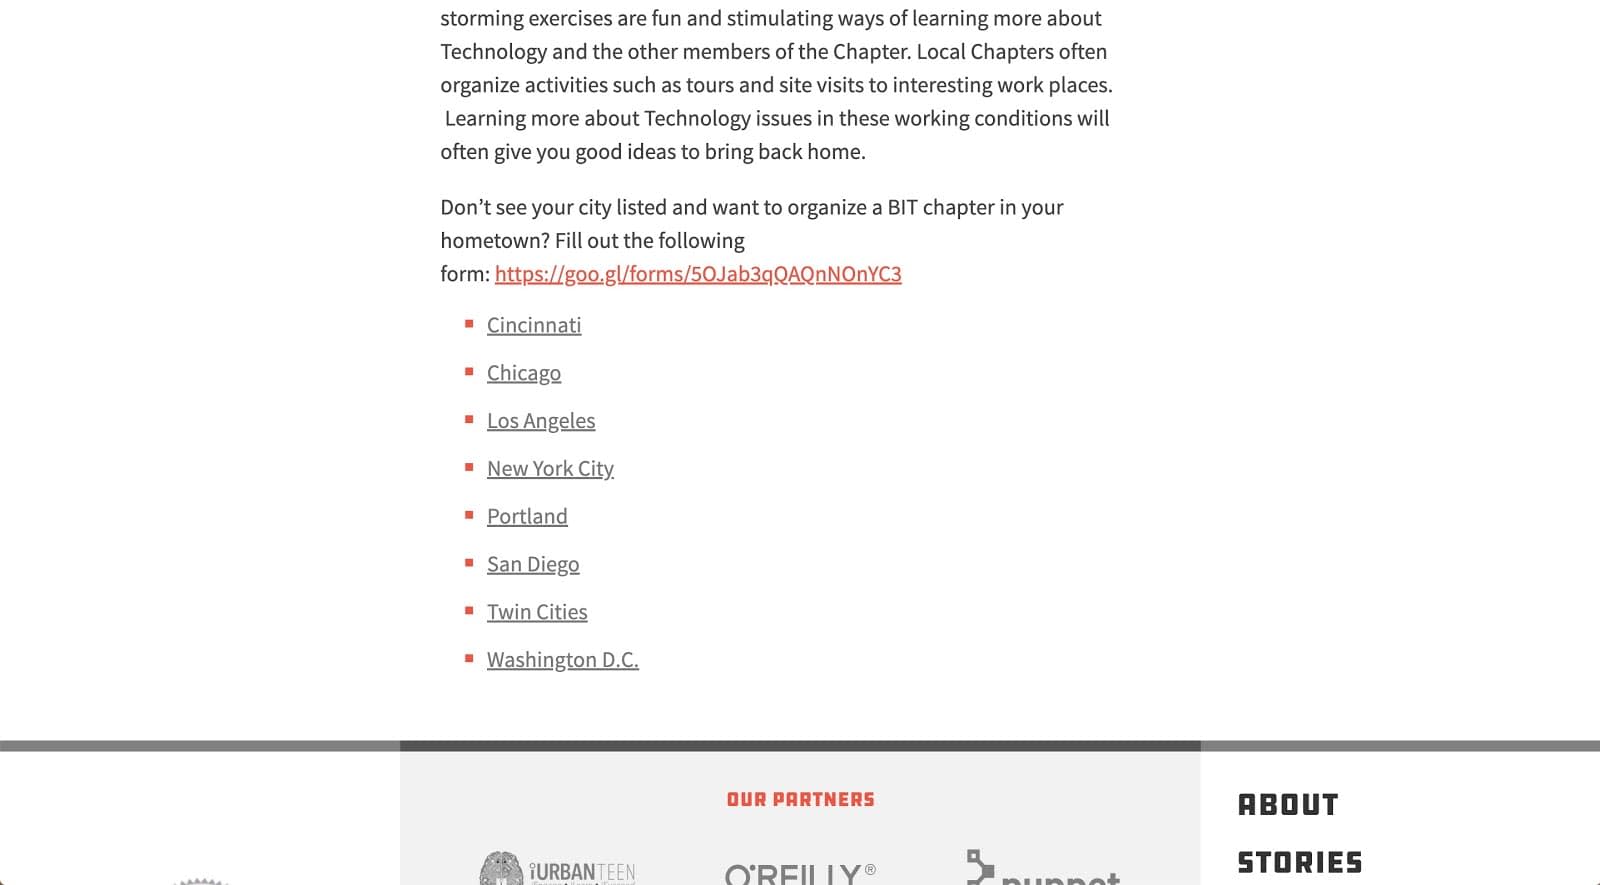
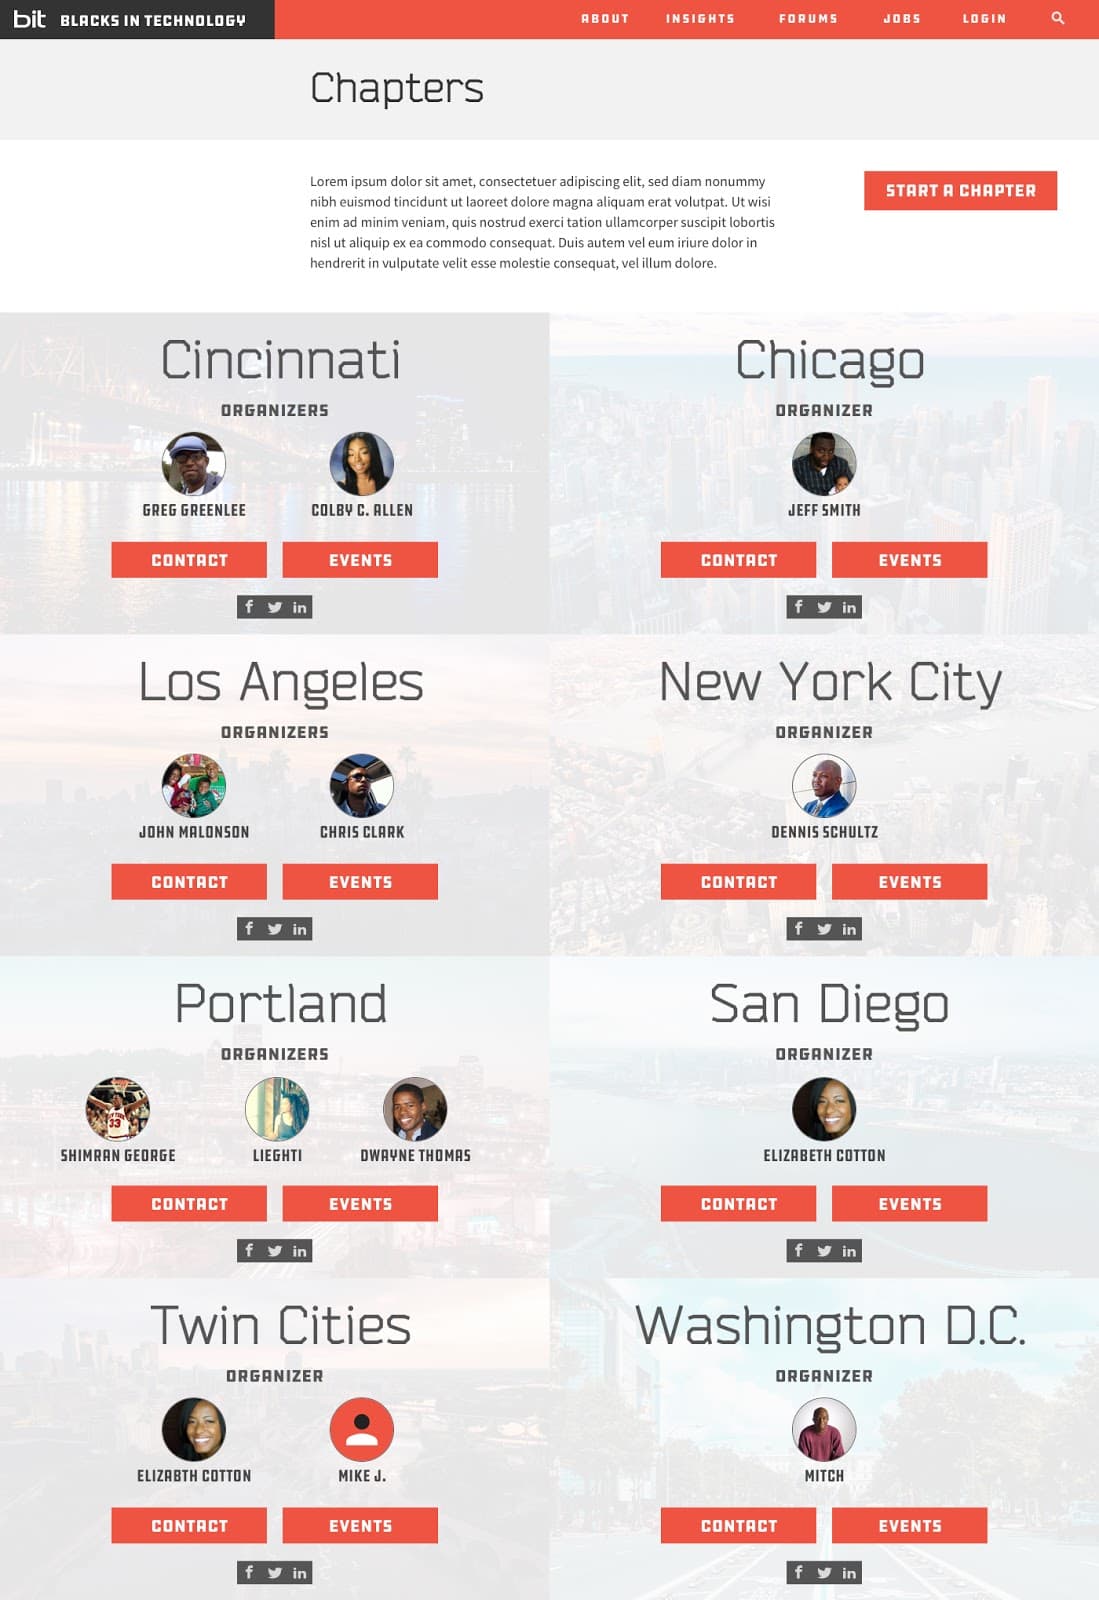
More recently, BIT needed an upgrade to the BIT chapters listing page, and they wanted something that would showcase the locations and organizers. Working toward that goal, our Frontend Designer Philip transformed the list of links that previously represented the chapters into a new page that quickly shows where users can find a chapter near them and how they can get in touch with that chapter. The page also includes a link to a page detailing what a local chapter is and how to start one.
Using Philip’s design comp, our team started thinking code strategy. We needed to figure out the best way to make this content editable for the folks at BIT who maintain the website, which uses WordPress. First, we thought we could use the Advanced Custom Fields (ACF) plugin. We could have, but it costs extra to have repeating fields. We knew there had to be another way to accomplish this. The second option was to use the TablePress plugin. The data was pretty tabular anyway, so this option could have made sense from both a code and a maintenance standpoint. That’s when a fellow developer suggested we explore using custom post types.
According to the WordPress Codex, custom post types let you “define a new post type by its labels, supported features, availability and other specifics,” which is exactly what we needed. We wanted our custom post type to live in a plugin, so we created a folder and file called sb-chapters and sb-chapters.php. The WordPress docs about writing plugins stress that you should have a unique name for your plugin so that users don’t run into issues with one or both of the plugins not working because the project doesn’t know which one to point to for which actions. To avoid this, we prefixed ours with “sb,” short for “Sparkbox.” Before writing our custom post type, we added a plugin header using the header requirement docs as a guide.
/**
* Plugin Name: Sparkbox Chapters Post Plugin
* Description: Custom post type for chapters page
* Version:     1.0.0
* Author:      Sparkbox
* Author URI:  /
**/
Then we moved on to actually writing the custom post type. First, we created a function for the post type called create_chapter_post_type(). Inside of that function, we registered a new post type called “chapters.”
function create_chapter_post_type() {
 register_post_type( 'chapters', array() );
}
WordPress’s register_post_type() function takes an array, where we can label our post type and add support for any features we may need. Next, we labeled our post type, giving it a plugin name and a singular name.
function create_chapter_post_type() {
 register_post_type( 'chapters',
  array(
   'labels' => array(
     'name' => ( 'Sparkbox Chapters' ),
     'singular_name' => ( 'Chapter' )
 );
}
Then we added some additional arguments. Since we wanted this plugin to show up in the WordPress admin dashboard, we set the public argument to true. We also wanted users to be able to add and edit a title and a featured image for their chapter listing. That support was added by naming those features in the supports argument:
function create_chapter_post_type() {
 register_post_type( 'chapters',
  array(
   'labels' => array(
     'name' => ( 'Sparkbox Chapters' ),
     'singular_name' => ( 'Chapter' )
   ),
   'public' => true,
   'supports' => array( 'thumbnail', 'title' ),
   'menu icon' => 'dashicons-location'
 );
}
Without that support statement, users of the plugin wouldn’t have access to edit a title or featured image on the WordPress side. As a bonus, we wanted to add an icon to distinguish this custom post type from others that already exist on the project. To accomplish this, we used WordPress’s official icon font, Dashicons, seen on the last line of code above. We chose a location pin icon since one of the main things the listing page conveys about chapters is their locations.
The last thing we needed to do was initialize the plugin so that we could install and use it. We did this with WordPress’s add_action function, which defines a hook and allows us to call the function we created to define our post type. This was the last line of code in our plugin, outside of the function we created for the custom post type:
add_action( 'init', 'create_chapter_post_type' );
Finally, we zipped up our plugin folder and installed and activated it in the WordPress admin dashboard. There were some pieces that still needed to be done on the WordPress side. We used the free version of the ACF plugin to add the fields that we wanted for our chapter post type: things like organizer names and images, links to Meetup groups, and links to social media.
Using custom post types gave us a lot of flexibility that TablePress wouldn’t have provided. It was a more organized approach than the add-on to the ACF plugin that would have given us repeatable fields. And it will allow us to easily extend this content in the future. With this solution, if BIT needs to reference the chapters in additional ways across the site, they can do so without managing content in multiple places. This easily scales, allowing each chapter to have its own page or be easily referenced on additional pages. Our team learned a lot from this implementation, and we were able to deliver a flexible, scalable solution to meet BIT’s need.

