
In my previous article, we walked through the process of creating a blog with Gridsome and markdown. I love writing my content in markdown, but not everyone is going to appreciate the learning curve. Services such as Netlify CMS, Siteleaf, and Grav can enable content editors to update markdown-based files without having to learn markdown, but you don’t typically get a UI with this approach. And oftentimes people just want to use something they are familiar with.
With a Headless CMS, we get the editing capabilities of a monolithic architecture (Wordpress, Drupal, etc.) paired with the freedom to build the frontend layer of our application however we want. This is achieved by storing our content in a central location that is accessed through an API. Distributing our content this way also allows us to utilize our content across many different applications (i.e. Website, mobile application).
For this article, we will be setting up our “content hub” with GraphCMS. Many content hub options exist in this space: Sanity.io, Strapi, and Directus to name a few. However, I am most familiar with GraphCMS, and for the sake of brevity, I want a non-self-hosted solution.
Let’s head over to GraphCMS and create an account.
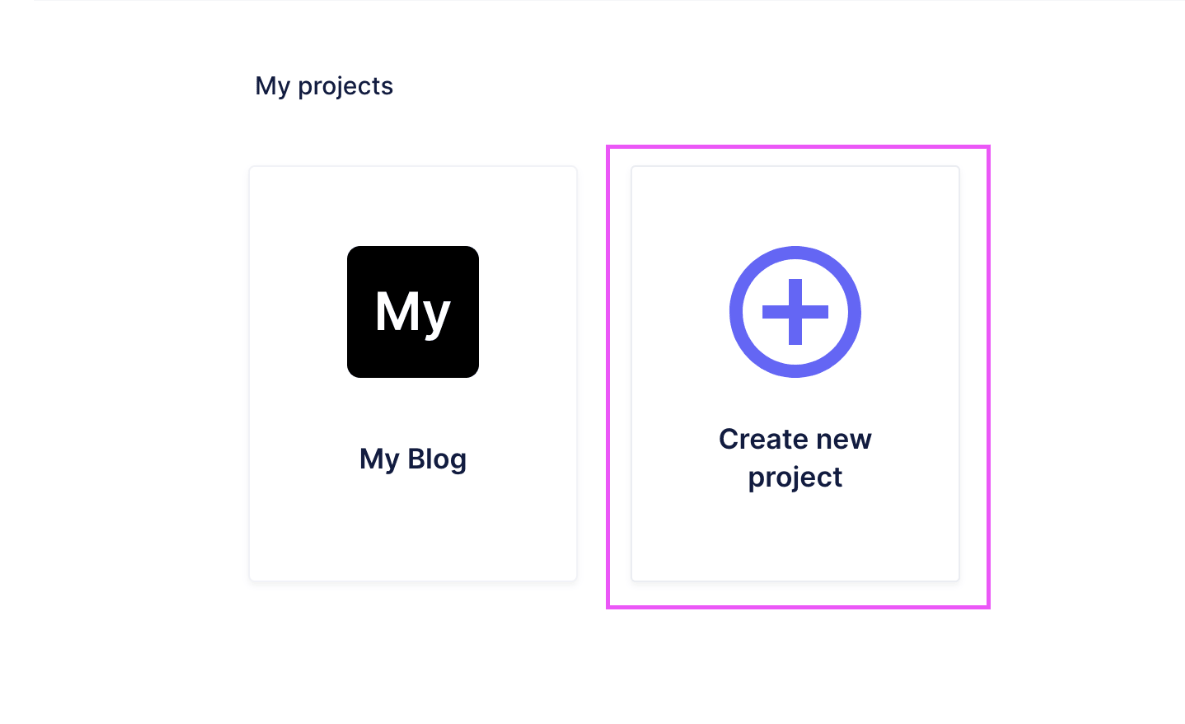
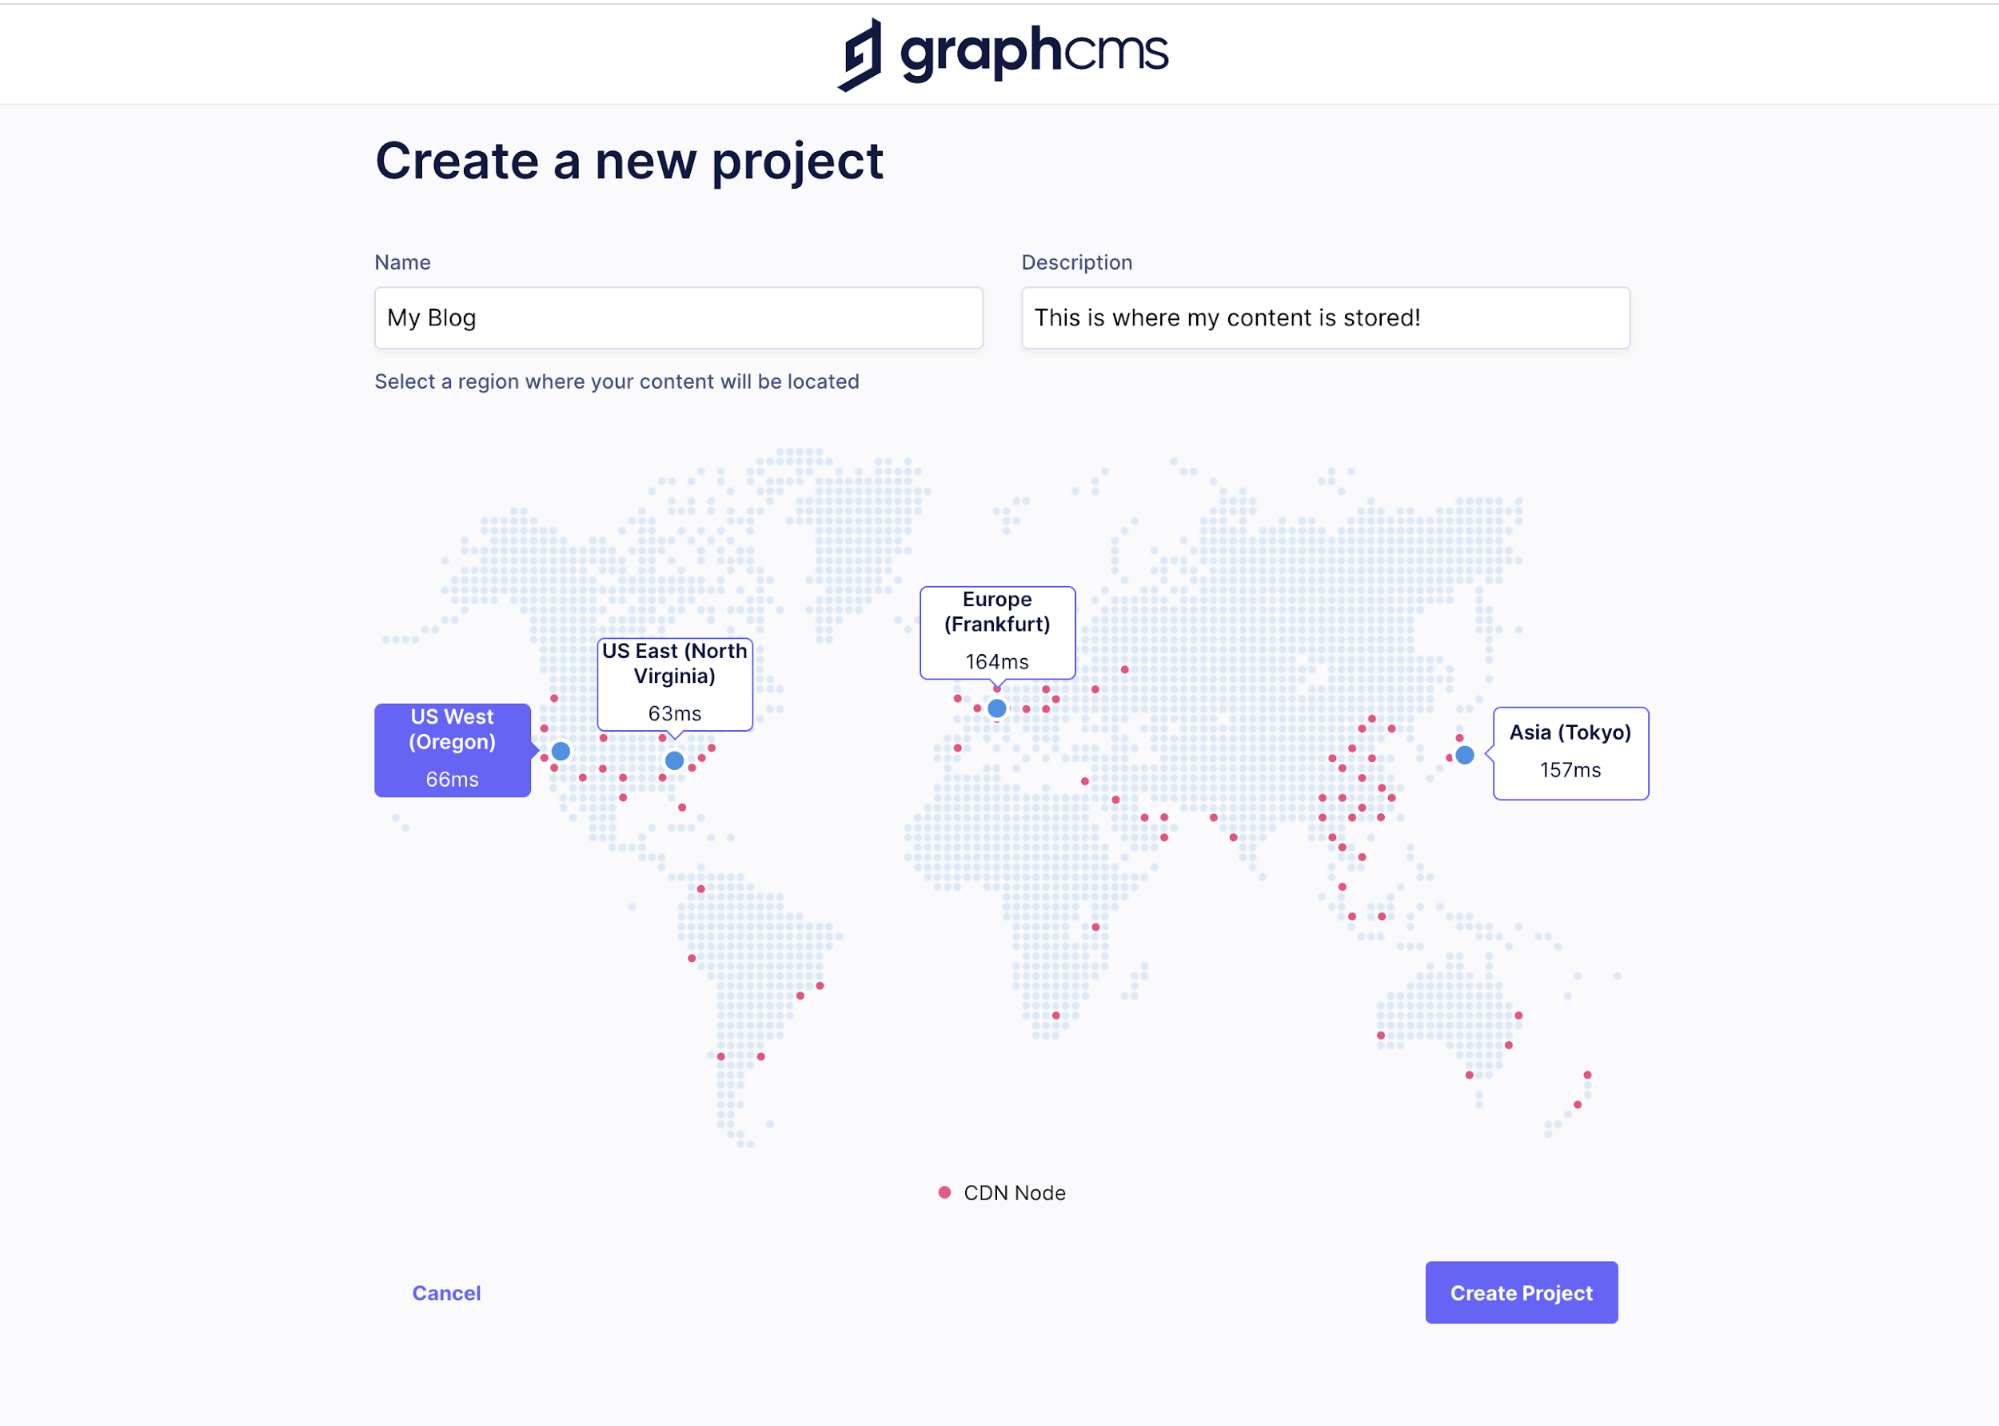
Creating our Project
Next, we will create our first project, give it a name and description, and set a region (CDN node) where our content will be located. I selected the US West region, as it is closest to me. However, I would suggest selecting the region that is closest to whomever will be using the application the most.
Creating our Post Model
We are then taken to the Dashboard of our project, where we can create our models for our content. Select Setup Your Model Schema from the Quick Start Guide and proceed to the Schema section, where we can create our Post model. To learn more about GraphQL schemas, I would suggest taking a look at the official GraphQL schema documentation.
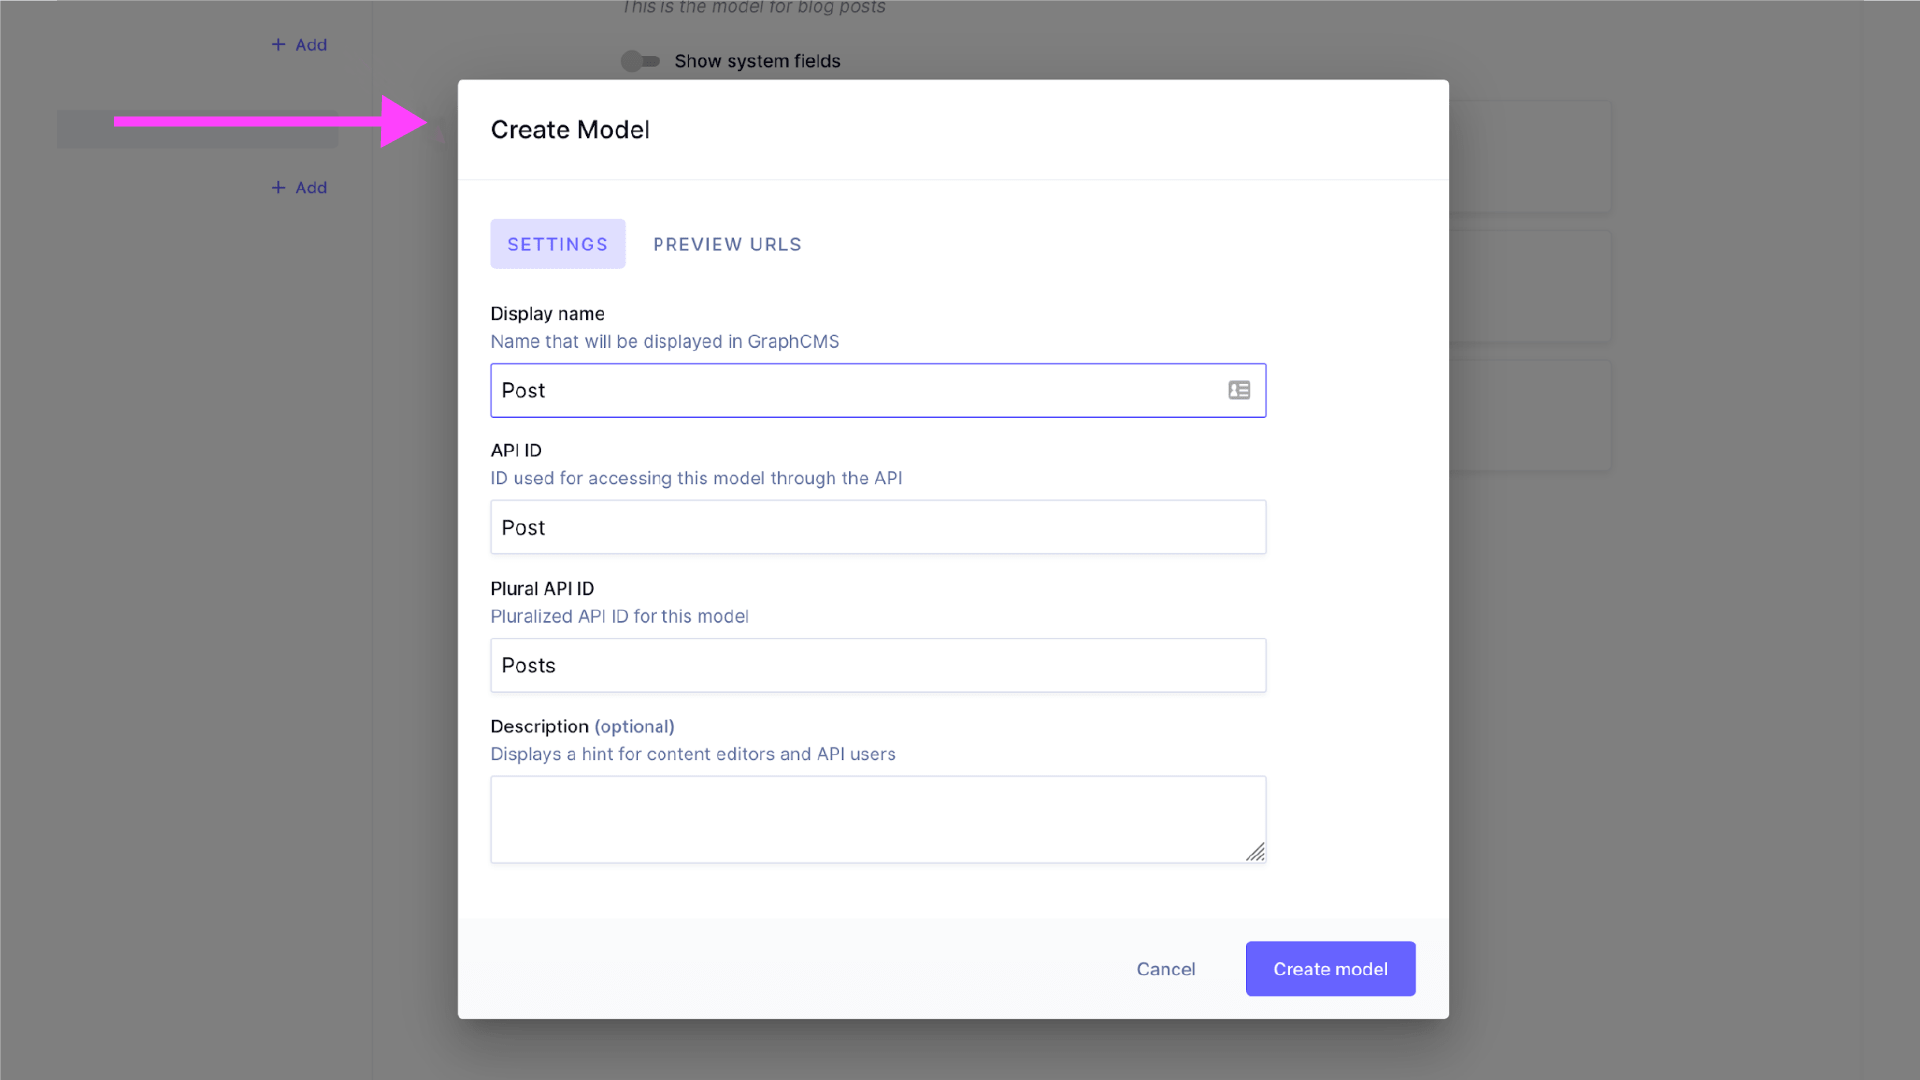
Select the Add button and add a Display Name of Post. The API ID and Plural API ID will prepopulate for you. Select Create Model, let the magic happen, and in a few seconds you’ll have your Post model!
Creating the Fields for our Posts
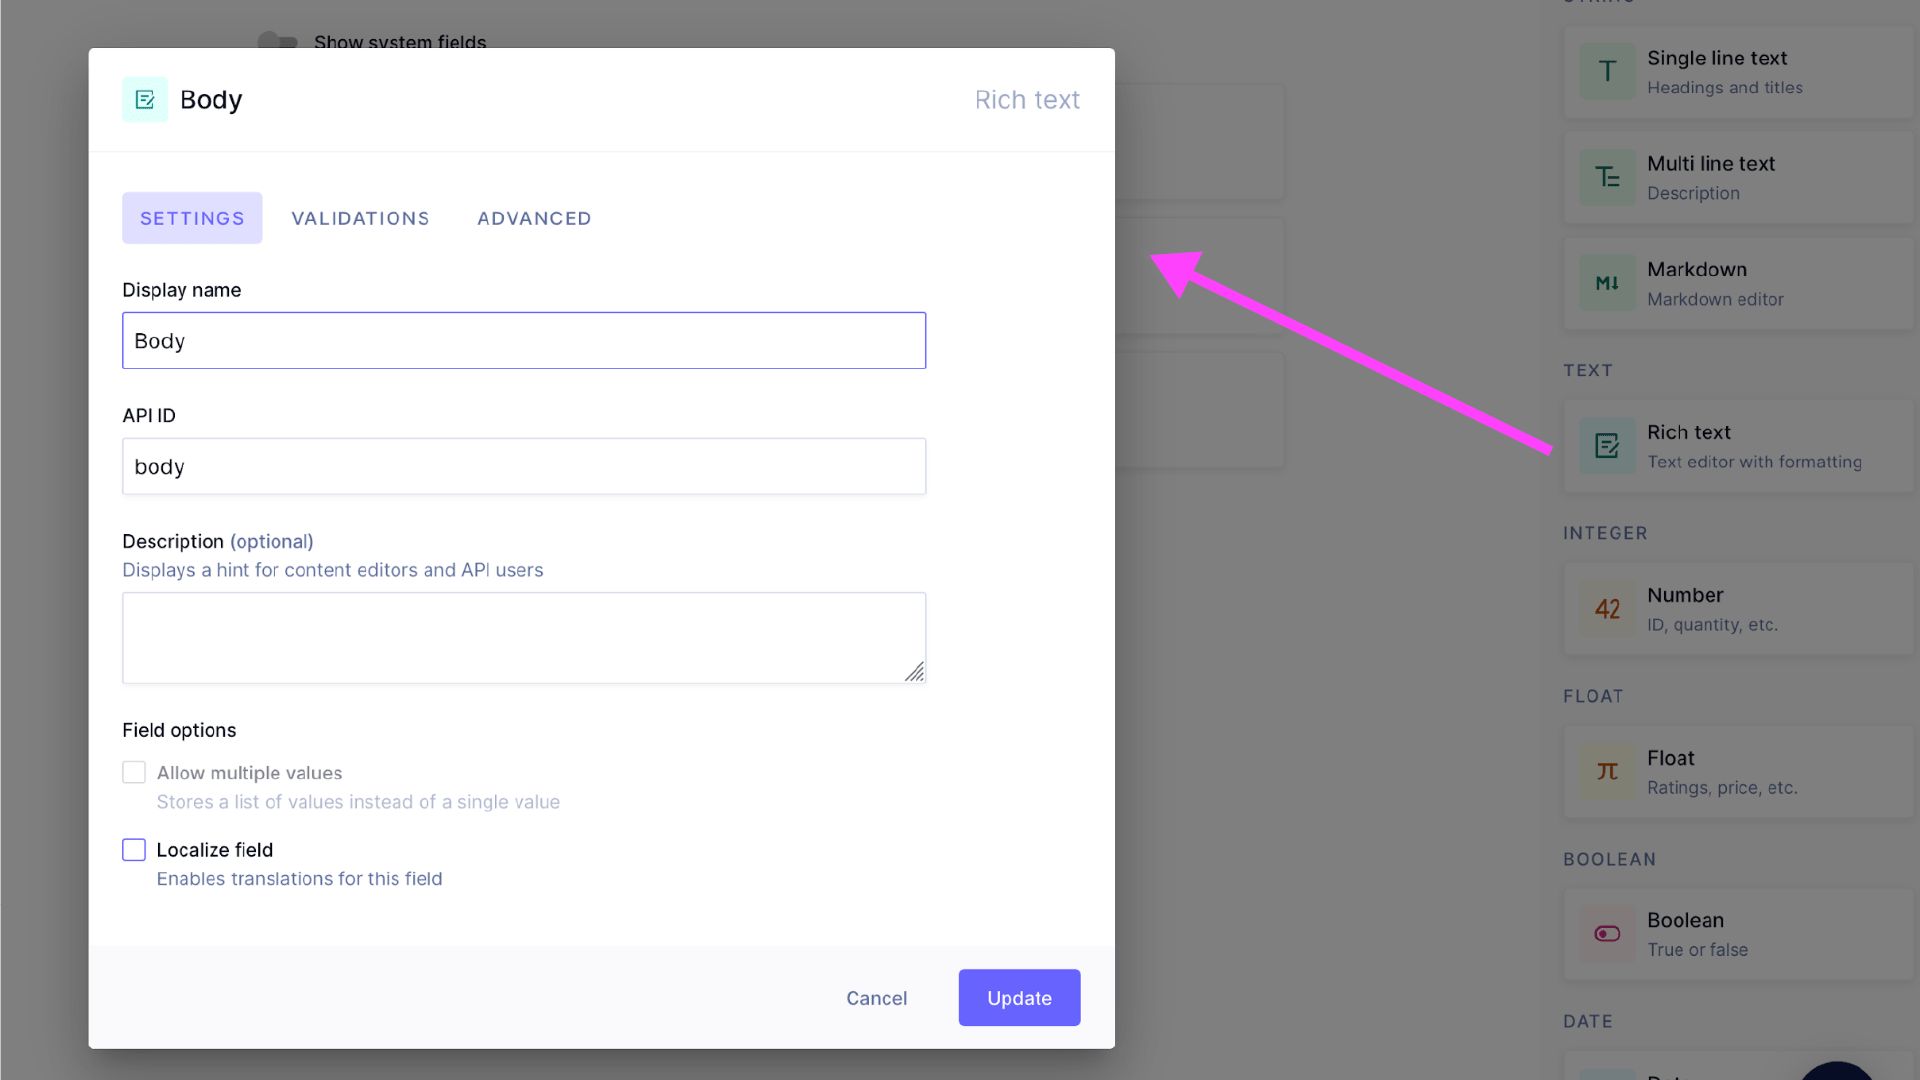
Now that we have successfully created our Post model, we need to give it some fields (options) that we can utilize when creating a new post. For simplicity, we will only add Hero, Title, and Body fields. In the Fields sidebar on the right side of the page, you will find the various types of fields to choose from. The Hero field will be an Asset Picker. The Title field will be a Single Line Text field. The Body field will be a Rich Text field. Let’s go and add our fields by selecting each field we need and filling out the Display Name and API ID (auto-generated).
Adding Some Content
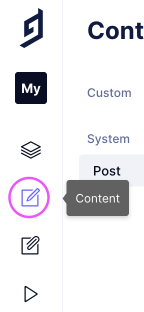
Now that we have our fields defined in our Post model, we can start adding some content! Start by navigating to the Content section of the dashboard. You will find the link in the navigation on the left side of the application. Once on the Content page, we can select Create New to add our first blog post. Go ahead and create a post or two.
Utilizing the API Playground
Now we have created some base content for us to run queries against. Let’s navigate over to the API Playground via the link in the left-hand navigation. Once there, we will be able to execute queries on our data (posts). There are multiple ways to formulate these queries, but for this example, let’s utilize the Query Explorer. The Explorer enables us to select the fields we need to build our query. However, if you’re already familiar with GraphQL, feel free to use the tool that best suits your needs.
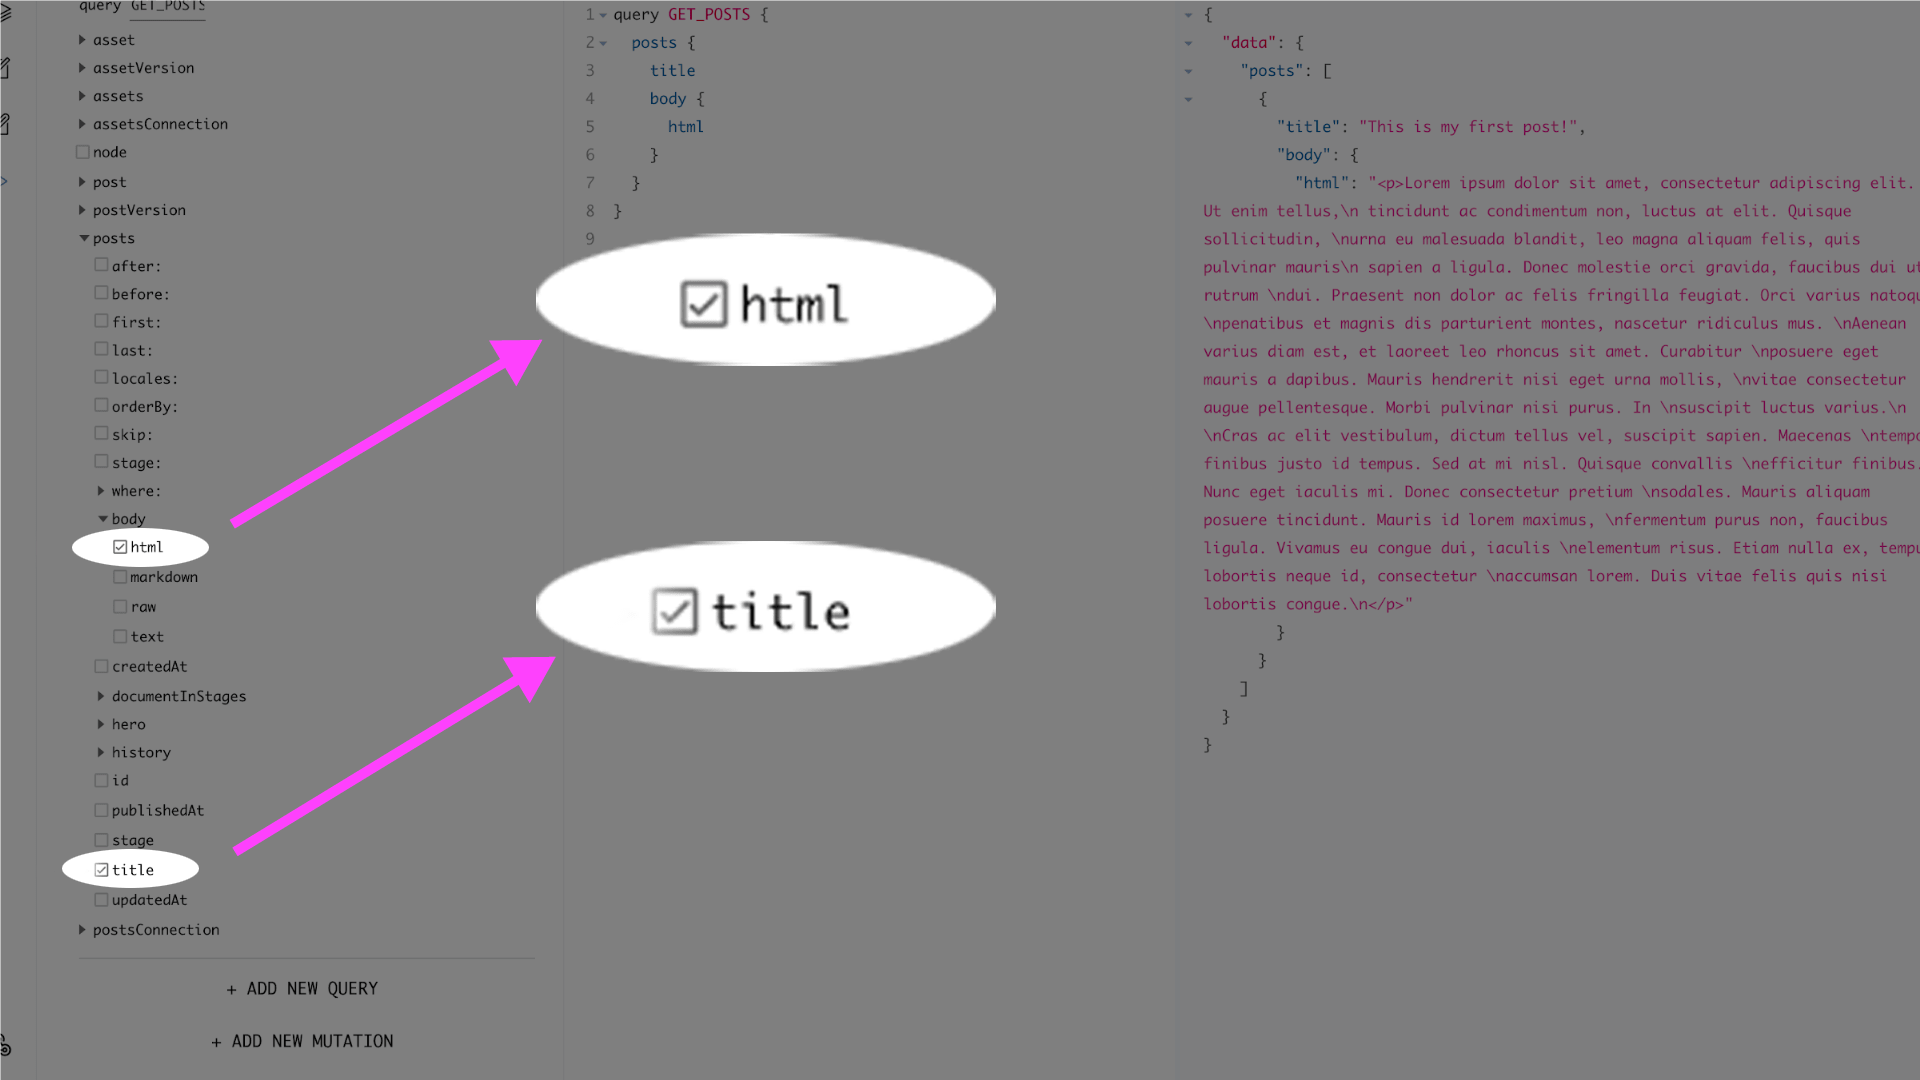
Here’s what my query looks like. Utilizing the Explorer, I drilled down on the fields I wanted to return data from. As a plus, the actual query is generated for us.
Note: GET_POSTS is the name I gave my query. Feel free to name your query whatever you like.
query GET_POSTS {
  posts {
    title
    body {
      html
    }
  }
}
Wrapping up with a Look Forward
Hopefully with this walk-through of GraphCMS, you’ve been inspired to try a new approach to content management and maybe to try utilizing a Headless CMS in your next project. In my next article, we will come full circle by connecting our GraphQL-based CMS to a Gridsome frontend.
Sparkbox’s Development Capabilities Assessment
Struggle to deliver quality software sustainably for the business? Give your development organization research-backed direction on improving practices. Simply answer a few questions to generate a customized, confidential report addressing your challenges.
